How To Install a Desk Grommet in 12 Simple Steps
How To Install a Desk Grommet in 12 Simple Steps

How To Install a Desk Grommet in 12 Simple Steps
Installing a desk grommet is a fantastic way to achieve a clean, organized workspace. Desk grommets manage cables effectively, reduce clutter, and create a polished look for your furniture.
Produce a workspace that stays neat and efficient. Whether you’re outfitting your home office, managing a commercial design project, or customizing furniture for a client, follow these simple steps to install a desk grommet.
1. Choose the Right Grommet
Grommets come in various sizes, shapes, and materials. For instance, a sleek metal grommet is ideal for desks in modern office settings, and plastic grommets are suitable for more casual or budget-friendly solutions.
Determine the functionality you need. Will the grommets support cable management for charging cords, power strips, or HDMI wires? Or are you looking to integrate power and data ports into the desk?
Additionally, measure the thickness of the desk, so the grommet accommodates its dimensions. When you start the project with the correct grommet, you establish a solid foundation for a successful installation.
2. Mark the Spot
Determine the ideal spot for grommet placement, ensuring its location aligns with where cables and wires naturally need to pass through. Use a pencil to mark the center of the spot, keeping in mind the functionality and design aesthetic you want to achieve. If the desk is up against a wall, consider positioning the grommet closer to the rear edge for a discreet yet practical cable management solution.
3. Measure the Hole Size
Before drilling, measure the hole size required for the grommet. A snug fit helps you throughout the desk’s use to keep the grommet securely in place and maintain a tidy appearance.
Refer to the dimensions provided on the grommet’s packaging; most packages will indicate the precise diameter needed. Double-check your measurements and confirm that your drill’s hole saw matches your desired size. Take time to get accurate measurements to save you from adjustments later on.
4. Drill a Pilot Hole
A pilot hole acts as the guide for precise drilling. Using a small drill bit, drill a pilot hole at the marked spot. This hole creates a starting point for the larger drill bit.
Step drill bits are useful for creating pilot holes because they allow you to create different-sized holes with a single drill bit. If you skip this step, you risk the drill slipping, which may damage the desk’s surface. A steady hand and patience during this step lead to cleaner results.
5. Select the Right Hole Saw
Selecting the correct hole saw is instrumental in creating a perfect fit for your grommet. The hole saw should match the diameter specified on the grommet’s packaging. For example, a standard two-inch metal desk grommet would require a two-inch hole saw.
Hole saws can cut through wood, plastic, and metal without damaging the material. Whether it’s for a home project or a large-scale production for furniture manufacturing, choosing high-quality tools ensures efficiency and accuracy when installing grommets.
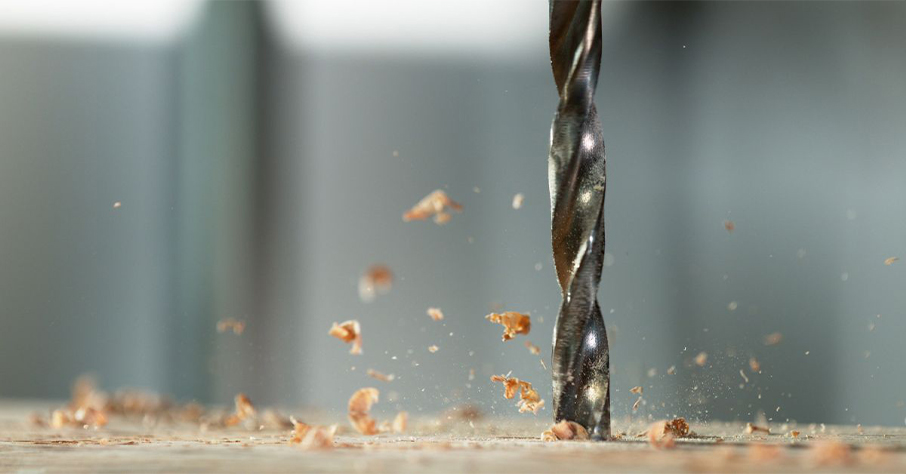
6. Drill the Hole
Once you have the correct hole saw attached to the drill, proceed to drill the hole at the pilot mark. Ensure you hold the drill steady and apply even pressure.
Keep the drill stable throughout the process to avoid splintering, misalignment, or uneven edges. Using a slower drill speed with firm control often yields the best results, particularly for materials prone to chipping.
7. Sand the Edges
After drilling, you’ll likely notice rough or splintered edges surrounding the hole. To achieve a professional finish, take a piece of sandpaper and gently smooth the edges.
Aim for a clean surface that keeps your grommet seated securely while also ensuring no wood fibers or debris obstruct the cables later. Although sanding is typically a cosmetic fix, it also adds function by preventing cables from snagging or fraying.

8. Test the Fit
With a smooth and clean hole now ready, it’s time to test the grommet. Place it into the hole to confirm it fits snugly without any gaps or loose sections.
If the grommet doesn’t fit perfectly, minor adjustments are possible by sanding or slightly widening the hole using the drill. Accuracy is key here; an improperly fitting grommet won’t remain secure over time.
9. Clean the Area
Once you’re satisfied with the fit, remove any sawdust, shavings, or debris left behind during the drilling process. A clean working area helps the grommet fit seamlessly into the hole without obstruction, providing a clear view of your progress. A quick wipe-down with a damp cloth or vacuum ensures the workspace stays tidy as you approach the final installation steps.
10. Insert the Grommet
Now comes the main event! Push the grommet into the hole, ensuring it sits flush with the desk’s surface. Many grommets feature a slight snap or twist mechanic to lock them into place.
If your grommet is adjustable, follow the manufacturer’s instructions to keep it secure. This is where the perfect measurements and smooth finish come together.
11. Secure the Grommet
Depending on the type of grommet you’re using, you may need to secure it further. Some grommets come with adhesive backing, while others include screws to hold them in place. If either option applies to your grommet, follow the provided instructions closely.
This step is particularly essential if you’re using heavy-duty grommets or installing them in professional settings, such as architectural hardware applications in commercial furniture. A firmly secured grommet enhances durability and functionality.
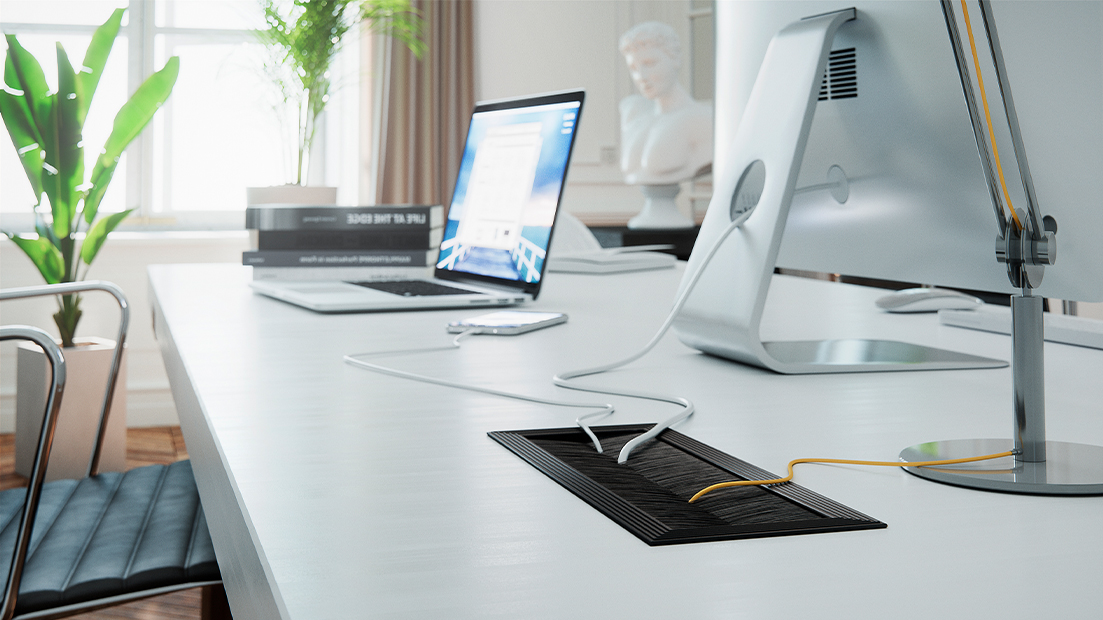
12. Organize the Cables
With the grommet installed, it’s time to make them functional. Thread the cables through the grommet and arrange them neatly. This final step brings order to the desk by managing power cords or organizing data cables for multiple monitors.
By understanding these simple steps to install a desk grommet, you’re ready to create a more efficient, professional workspace. Whether you’re an individual upgrading your home office or an industry professional exploring state-of-the-art furniture components, the process highlights the perfect blend of form and function. Explore Doug Mockett & Company product lines for more premium hardware solutions that will elevate your projects.